

サーバーワークスの村上です。
NBAは絶賛シーズンオフですが、渡邊選手、八村選手ともに複数年契約きましたね!
Yuta Watanabe has agreed on a deal with the Phoenix Suns, per @ShamsCharania pic.twitter.com/8lcwvOlHsx
— NBA on TNT (@NBAonTNT) 2023年6月30日
嬉しいとついStable Diffusionで似たような画像を生成してしまいます。

ということで本ブログはAmazon SageMaker JumpStart で 使えるStable Diffusion XL 1.0をさっそく試してみたという内容です。
料金
Software Pricingは無料です。推論インスタンスの料金が別途必要で、リアルタイム推論の場合に利用可能なインスタンスタイプはml.g5.2xlarge、ml.p4d.24xlarge、ml.p4de.24xlargeです。
各インスタンスタイプの料金は料金ページを確認いただければと思いますが、ml.g5.2xlargeだと1時間あたり$1.515です。

使ってみる
まずはサブスクライブ
Stable Diffusion XL 1.0を利用するにはAWS Marketplaceでサブスクライブする必要があります。
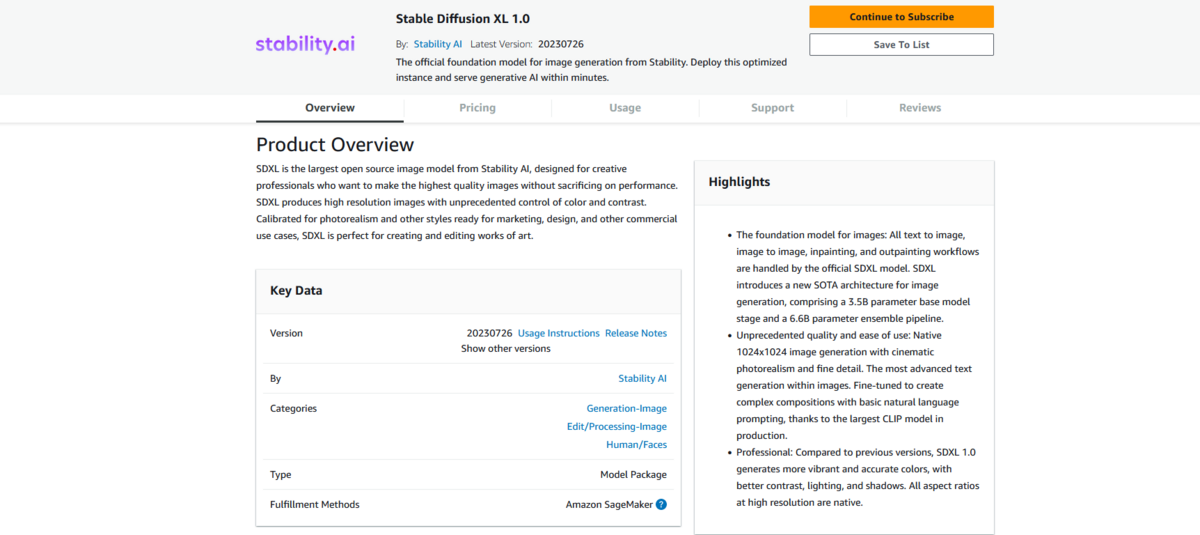
このページで料金や使用方法、対応しているインスタンスタイプを確認しましょう。特に対応しているインスタンスタイプは要注意です。
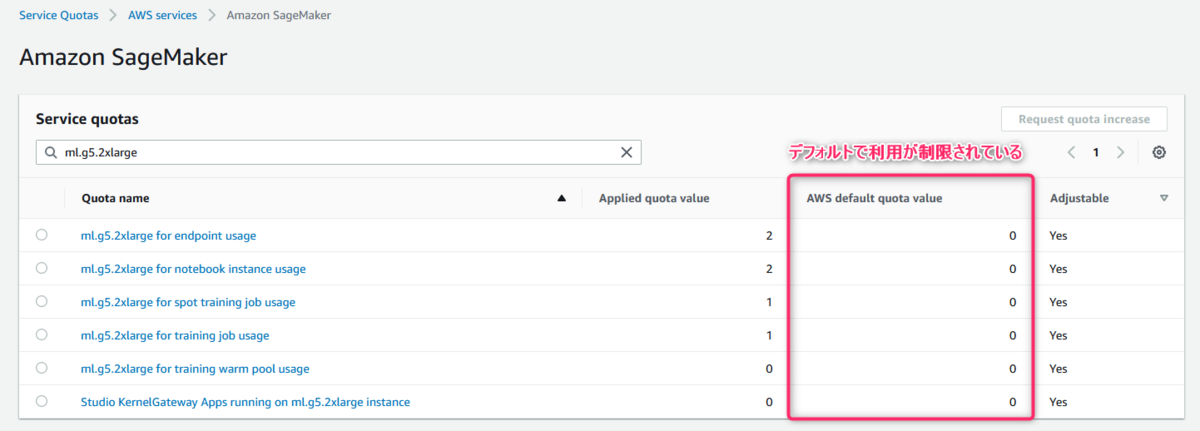
生成系AIのモデルをホストするような高スペックのインスタンスタイプはデフォルトで利用が制限されており、上限緩和申請が必要だからです。
緩和が必要な場合は、Service Quotasから申請をしておきましょう。
モデルのデプロイ
ここからはサンプルノートブックを参考にStable Diffusion XL 1.0を使ってみます。
デプロイする際は、Stable Diffusion XL 1.0のモデルが登録されたModelPackageを指定し、deploy()でデプロイするだけです。
role_arn = get_execution_role()
sagemaker_session = sagemaker.Session()
model_package_arn = "arn:aws:sagemaker:us-east-1:865070037744:model-package/sdxl-v1-0-2042286-300c57d4fa1e39968d711d754640b0b6"

model = ModelPackage(role=role_arn,model_package_arn=model_package_arn, sagemaker_session=sagemaker_session,predictor_cls=StabilityPredictor)

instance_type="ml.g5.2xlarge"
deployed_model = model.deploy(initial_instance_count=1,instance_type=instance_type,endpoint_name=endpoint_name)
画像の生成
画像を生成する場合はpredict()を使えば良いのですが、base64エンコードされた文字列が返ってきます。
そのためこれをデコードする関数を定義します。
def decode_and_show(model_response: GenerationResponse) -> None:
    """
    Decodes and displays an image from SDXL output

    Args:
        model_response (GenerationResponse): The response object from the deployed SDXL model.

    Returns:
        None
    """
    image = model_response.artifacts[0].base64
    image_data = base64.b64decode(image.encode())
    image = Image.open(io.BytesIO(image_data))
    display(image)
これで画像を生成できます。
output = deployed_model.predict(GenerationRequest(text_prompts=[TextPrompt(text="teapot")],
                                            style_preset="origami",
                                            seed = 3,
                                            height = 1024,
                                            width = 1024
                                             ))

decode_and_show(output)
以下のような画像が生成されました。引数のheightとwidthで画像のサイズを調整可能です。
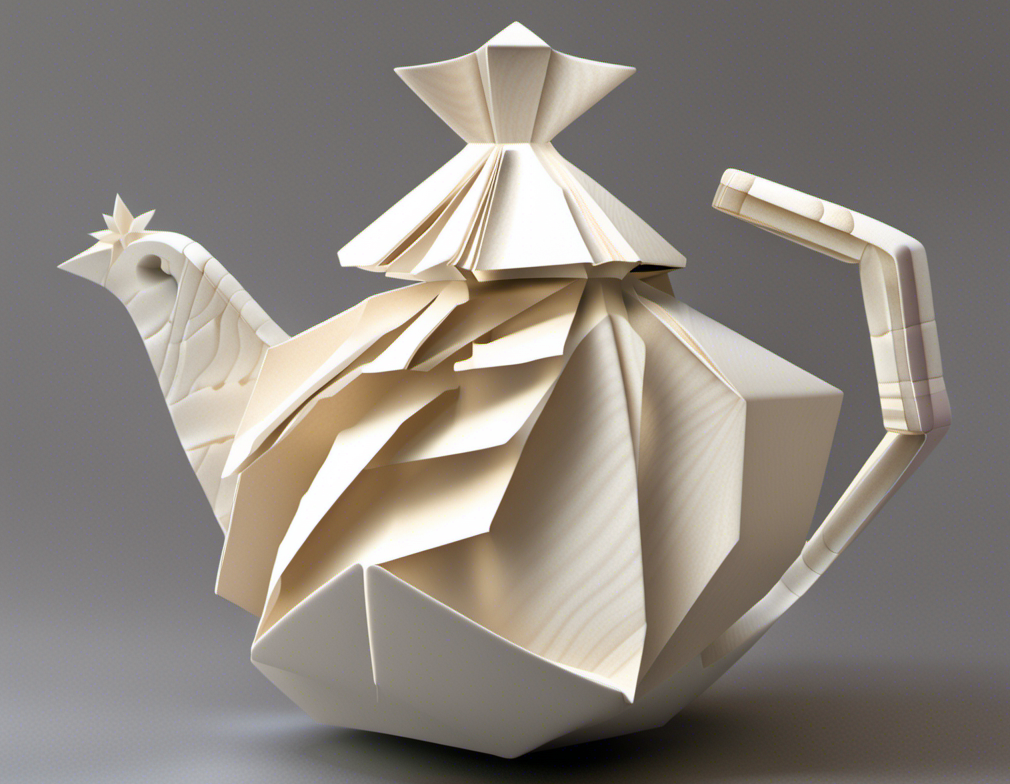
面白いのがstyle_presetというパラメータです。ちなみに上記の画像はstyle_preset="origami"(折り紙)を指定しています。
style_presetについて
これは生成される画像のテイストを調整するパラメータです。
Pass in a style preset to guide the image model towards a particular style. This list of style presets is subject to change.
スタイル プリセットを渡して、画像モデルを特定のスタイルに導きます。このスタイル プリセットのリストは変更される可能性があります。
Stability.ai REST API Documentation
style_presetには以下のようなパラメータを設定できます。
- "enhance"
- "anime"
- "photographic"
- "digital-art"
- "comic-book"
- "fantasy-art"
- "line-art"
- "analog-film"
- "neon-punk"
- "isometric"
- "low-poly"
- "origami"
- "modeling-compound"
- "cinematic"
- "3d-model"
- "pixel-art"
- "tile-texture"
試しにstyle_presetをanimeにしてサーバーワークスのエンジニア募集のイラストを生成してもらいました。
text = "IT Engineer Recruitment Poster for ServerWorks, Inc. which provides various services such as implementation, construction, operation, and payment agency of AWS, a cloud service provided by Amazon."

output = deployed_model.predict(GenerationRequest(text_prompts=[TextPrompt(text=text)],
                                            seed=0,
                                            height=640,
                                            width=1536,
                                            steps=150,
                                            # sampler="DDIM",
                                            style_preset="anime",
                                             ))
decode_and_show(output)
アニメなテイストになっていますね。

画像から画像の生成も可能
モデルに与えた画像をもとに新たな画像を生成することも可能です。
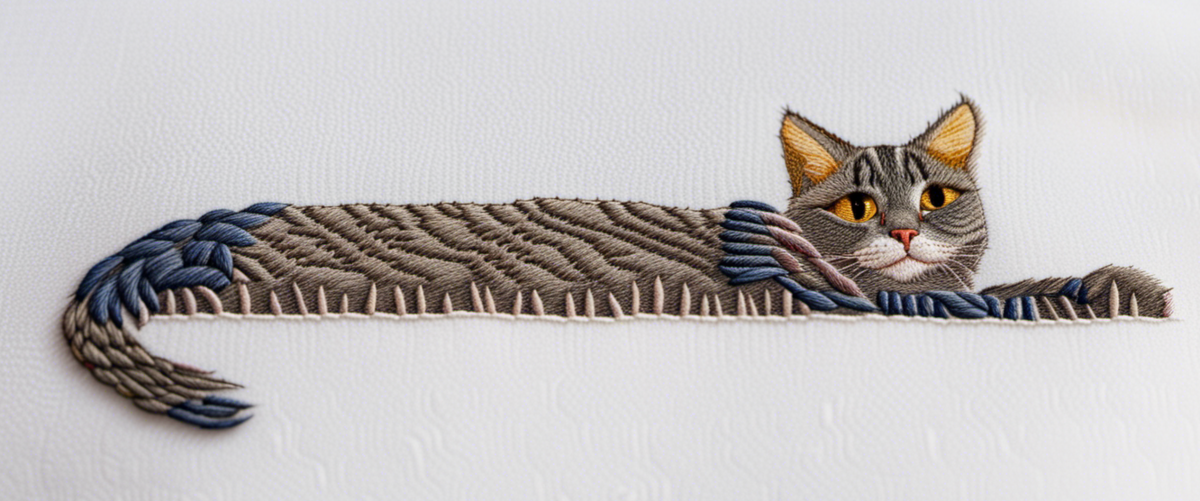
以下のような画像をbase64エンコードしモデルに与えます(具体的なコードはサンプルノートブック参照)
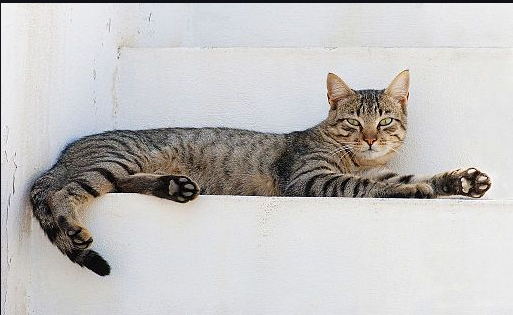
プロンプトでembroidery(刺繍)という指示を与えます。
cat_path = "Cat_August_2010-4.jpg"

size = (1536, 640)
cat_data = encode_image(cat_path, size=size)

output = deployed_model.predict(GenerationRequest(text_prompts=[TextPrompt(text="cat in embroidery")],
                                                  init_image= cat_data,
                                                  cfg_scale=9,
                                                  image_strength=0.8,
                                                  seed=42,
                                                  height=size[0],
                                                  width=size[1],
                                                  init_image_mode="STEP_SCHEDULE"
                                                  ))
decode_and_show(output)
与えた画像をもとに、刺繍された猫の画像が生成されました!
感想
画像は広告やSNSなど様々な場面で目にしますし、
産業現場における異常検知など、画像を扱う機械学習モデルのための学習データを生成する目的でも利用が期待されます。
ぜひ使いこなして仕事に生かしていきたいですね。