

はじめに
こんにちは、荒堀です。
Amazon ElastiCache ServerlessのRedisを触ってみたので、今度はMemcachedの方も触ってみます。 OpensslとPythonで試してみました。
概要
以下の点に考慮が必要です。
- 転送中の暗号化が有効で作成されます
- Telnetではなく、Opensslで接続する必要があります
参考
以下のページは、英語版だとServerlessのサンプルコードが表示されます。 docs.aws.amazon.com
やってみた
環境の作成
Redisの記事と同じ環境を作ります。
- Cloud9の起動
- ElastiCache Serverlessを作成
- ここだけ、Memcachedにします
- セキュリティグループにインバウンドルールを追加
ElastiCache ServerlessをMemcachedで作成
デプロイオプションに サーバレスを指定して、名前を入力します。
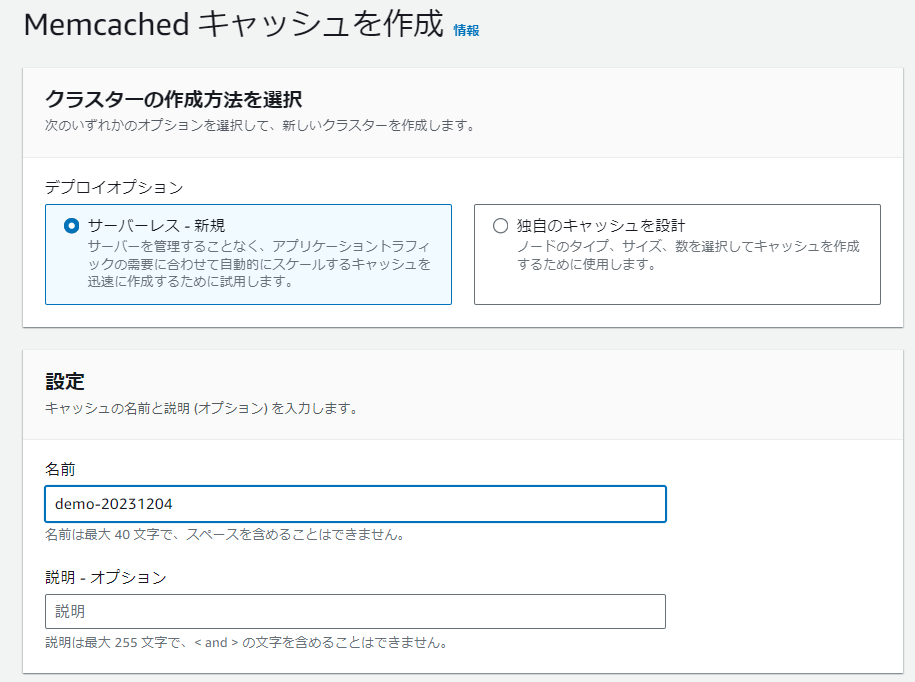
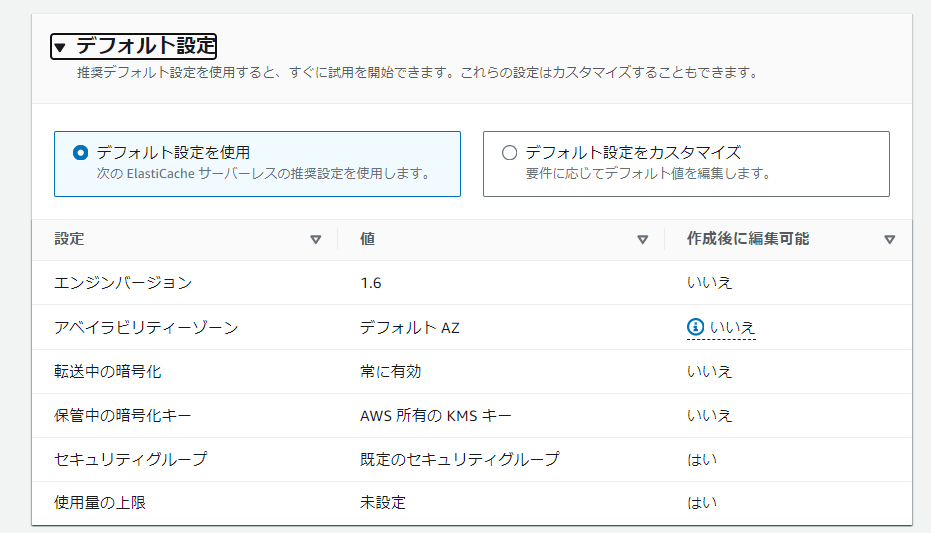
後はデフォルト設定で、デフォルトVPCに作ってもらいます。
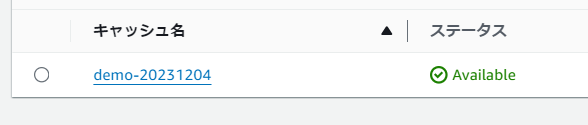
出来ました。セキュリティグループのインバウンドルールに、Cloud9からポート番号11211のアクセスを許可するルールを追加してください。

Opensslで接続
公式のコードを、そのまま実行します。
Cloud9(Amazon Linux2)には、デフォルトでopensslがありますので、それを使います。
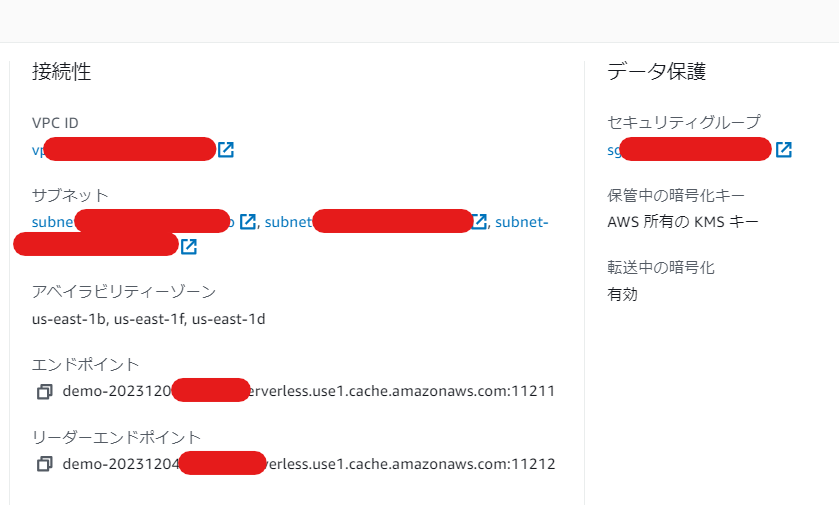
/usr/bin/openssl s_client -connect memcached-node-endpoint:memcached-port -crlf
(リーダーエンドポイントではなく)エンドポイントを指定します。
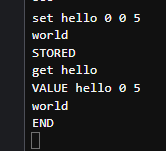
接続できたら、コマンドを実行していきます。
set hello 0 0 5
world
get hello

quit
値のセットとゲットができました。
Pythonで接続
まず、pymemcacheをインストールし、Pythonを起動します。
pip install pymemcache

python
公式のLambda用のコードを参考に、以下を実行していきます。
import uuid
import ssl
from pymemcache.client.base import Client

# ElastiCache settings (For serverless clusters)
ssl_context = ssl.create_default_context()
memcache_client = Client(("{your-elasticache-cluster-endpoint}", 11211), tls_context=ssl_context)

# Create a random UUID... this will be the sample element we add to the cache.
uuid_in = uuid.uuid4().hex

# Put the UUID to the cache.
memcache_client.set('uuid', uuid_in)
# Get the item (UUID) from the cache.
memcache_client.get('uuid')
成功すれば、発番したUUIDが返ってきます。

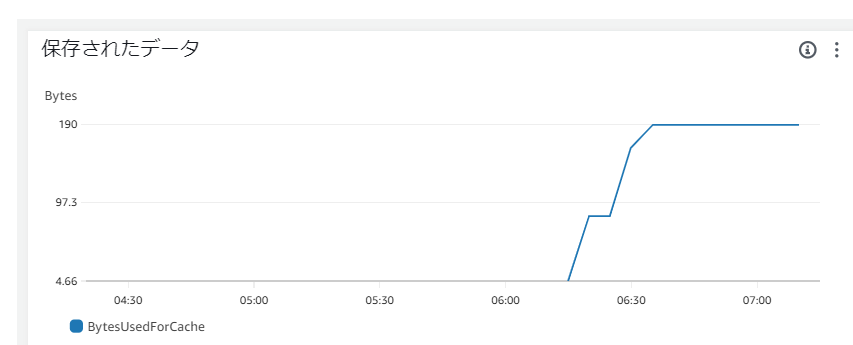
モニタリングタブから、データが入っていることも確認できます。
おわりに
Redisに続いて、MemcachedでもAmazon ElastiCache Serverlessを使ってみました。 簡単に素早く起動できるのは大変魅力的です。
この記事がどなたかのお役に立てれば幸いです。