
技術4課の古川です。
Vueアプリケーションに、認証機能としてAuth0を実装しました。
Auth0の公式チュートリアルでは、フロント画面から認証画面へ遷移させる実装方法は記載されています。 しかし、フロント画面へアクセスする際に認証画面へリダイレクトする方法は記載されていなかったので、今回記事にしました。
概要
Auth0とはいわゆるIDaaS (Identity as a Service)ベンダーで、Webアプリやモバイル、APIなどに対して認証・認可のサービスをクラウドで提供します。
アプリケーションにアクセスし、認証画面が表示されるまでの概略図は下記に示します。
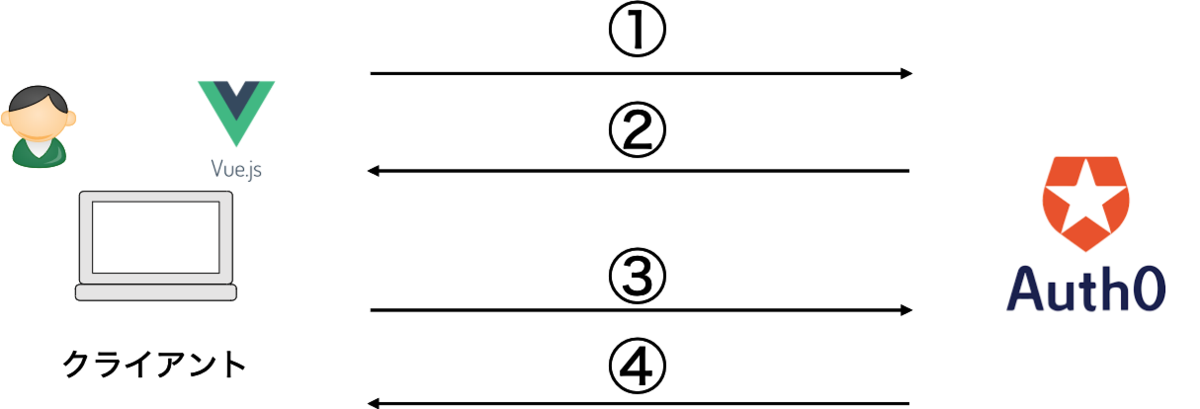
- クライアントはAuth0 Authorization Serverにアクセスする
- Auth0が、設定されたログインオプション (例: ユーザ名/パスワード) を使用して クライアントに認証させる
- クラインアントはIDトークンをリクエストする
- Auth0がクライアントにIDトークンを渡す
手順
基本的にはAuth0の公式チュートリアルに沿って進めていきます。
0. Auth0のサインアップ
まずはサインアップ画面からAuth0アカウントとテナントを作成します。
1. Auth0の設定
1-1 アプリケーションキーを取得
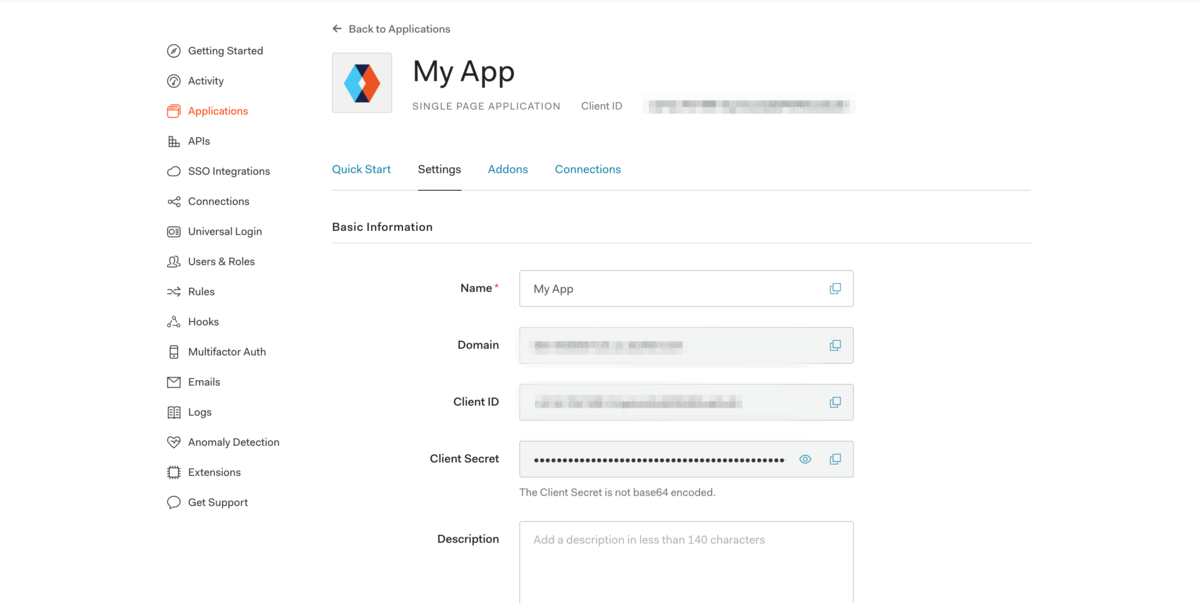
コンソール画面にてアプリケーションを作成し、DomainとClientIDを取得します。
1-2 アプリケーションURLの設定
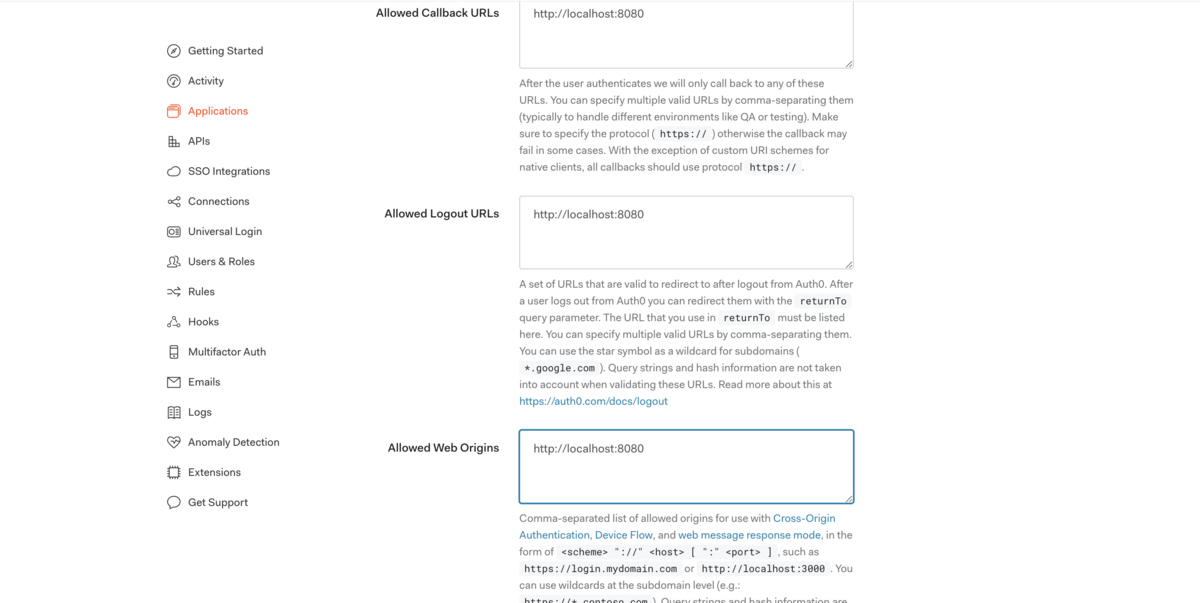
コンソール画面にて下記URLを設定します。今回は、Vueアプリケーションを作成するので、ポート番号はデフォルトで8080を使用します。
- Callback URLs
ユーザーがAuth0に認証された後にリダイレクトされるURL - Logout URLs
ログアウトしたときにリダイレクトされるURL - Web Origins
トークンリフレッシュが可能なURLのホワイトリスト
2. アプリケーションの作成作成
まず、Vue CLIを用いてアプリケーションを作成します。
(Vue CLIの導入方法はVue公式チュートリアル等確認してください。)
2-1 Vueアプリケーションの作成
$ vue create my-app

$ cd my-app
2-2 Vue Routerの導入
ログイン画面へリダイレクトする際に使用します。(Historyモードの使用は任意です)
$ vue add router
2-3 SDKのインストール
$ npm install @auth0/auth0-spa-js
2-4 アプリケーションの起動
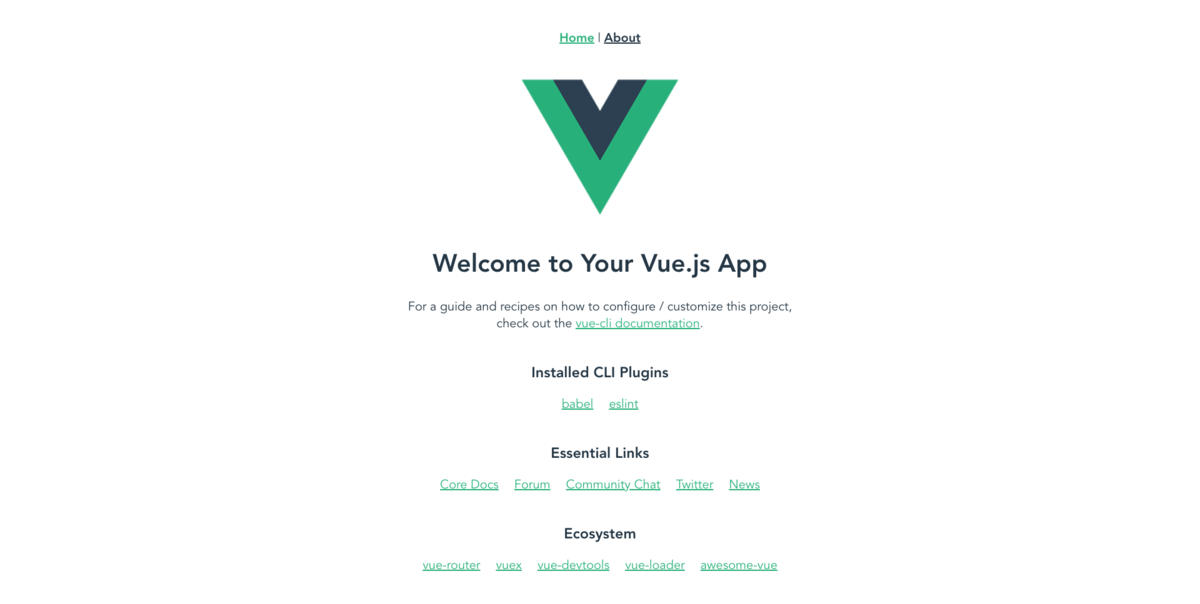
package.jsonに記載されたパッケージを一括でインストールした後、 http://localhost:8080/にアクセスします。
$ npm install
$ npm run serve
3 Authentication Wrapperの作成
3-1 Vue プラグインの実装
srcディレクトリ直下にauthディレクトリを作成します。 さらに、authディレクトリ直下に下記3つのファイルを作成します。
src/auth/authGuard.js
import { getInstance } from "./authWrapper";

export const authGuard = (to, from, next) => {
  const authService = getInstance();

  const fn = () => {
    if (authService.isAuthenticated) {
      return next();
    }

    authService.loginWithRedirect({ appState: { targetUrl: to.fullPath } });
  };

  if (!authService.loading) {
    return fn();
  }

  authService.$watch("loading", (loading) => {
    if (loading === false) {
      return fn();
    }
  });
};
src/auth/authWrapper.js
import Vue from 'vue';
import createAuth0Client from '@auth0/auth0-spa-js';

const DEFAULT_REDIRECT_CALLBACK = () =>
  window.history.replaceState({}, document.title, window.location.pathname);

let instance;

export const getInstance = () => instance;

export const useAuth0 = ({
  onRedirectCallback = DEFAULT_REDIRECT_CALLBACK,
  redirectUri = window.location.origin,
  ...options
}) => {
  if (instance) return instance;

  instance = new Vue({
    data() {
      return {
        loading: true,
        isAuthenticated: false,
        user: {},
        auth0Client: null,
        popupOpen: false,
        error: null,
      };
    },
    methods: {
      async loginWithPopup(o) {
        this.popupOpen = true;

        try {
          await this.auth0Client.loginWithPopup(o);
          this.user = await this.auth0Client.getUser();
          this.isAuthenticated = await this.auth0Client.isAuthenticated();
          this.error = null;
        } catch (e) {
          console.error(e);
          this.error = e;
        } finally {
          this.popupOpen = false;
        }
      },
      async handleRedirectCallback() {
        this.loading = true;
        try {
          await this.auth0Client.handleRedirectCallback();
          this.user = await this.auth0Client.getUser();
          this.isAuthenticated = true;
          this.error = null;
        } catch (e) {
          this.error = e;
        } finally {
          this.loading = false;
        }
      },
      loginWithRedirect(o) {
        return this.auth0Client.loginWithRedirect(o);
      },
      getIdTokenClaims(o) {
        return this.auth0Client.getIdTokenClaims(o);
      },
      getTokenSilently(o) {
        return this.auth0Client.getTokenSilently(o);
      },
      getTokenWithPopup(o) {
        return this.auth0Client.getTokenWithPopup(o);
      },
      logout(o) {
        return this.auth0Client.logout(o);
      },
    },
    async created() {
      this.auth0Client = await createAuth0Client({
        domain: options.domain,
        client_id: options.clientId,
        audience: options.audience,
        redirect_uri: redirectUri,
      });

      try {
        if (
          window.location.search.includes('code=') &&
          window.location.search.includes('state=')
        ) {
          const { appState } = await this.auth0Client.handleRedirectCallback();
          this.error = null;
          onRedirectCallback(appState);
        }
      } catch (e) {
        this.error = e;
      } finally {
        this.isAuthenticated = await this.auth0Client.isAuthenticated();
        this.user = await this.auth0Client.getUser();
        this.loading = false;
      }
    },
  });

  return instance;
};

export const Auth0Plugin = {
  install(Vue, options) {
    Vue.prototype.$auth = useAuth0(options);
  },
};
src/auth/index.js
export * from "./authGuard";
export * from "./authWrapper";
3-2 アプリケーションキーの設定
アプリケーションのルートディレクトリ直下にauth_config.jsonを作成し、1-1で取得したアプリケーションキーを設定します。
my-app/auth_config.json
{
  "domain": "YOUR_DOMAIN",
  "clientId": "YOUR_CLIENT_ID"
}
3-3 プラグインのインストール
上記でインストールした各プラグインをアプリケーションで使用するために、main.jsにVue.use を記載します。
src/main.js
import Vue from 'vue';
import App from './App.vue';
import router from './router';

import { domain, clientId } from '../auth_config';

import { Auth0Plugin } from './auth';

Vue.use(Auth0Plugin, {
  domain,
  clientId,
  onRedirectCallback: (appState) => {
    router.push(
      appState && appState.targetUrl
        ? appState.targetUrl
        : window.location.pathname
    );
  },
});

Vue.config.productionTip = false;

new Vue({
  router,
  render: (h) => h(App),
}).$mount('#app');
公式チュートリアルですと、ここからメニュー画面にログインボタンを実装して、ログイン画面へ遷移します。
本記事では、ユーザーが未ログイン状態でhttp://localhost:8080/にアクセスした際に、ログイン画面へリダイレクトされるよう実装します。
3-4 ナビゲーションガードの設定
Vue-Routerのナビゲーションガードを使用します。
配列routesのそれぞれの要素にbeforeEnter:authGuardを追記します。
それにより、指定のpathにアクセスする際に、authGuardモジュールを呼び出します
router/index.js
import Vue from 'vue';
import VueRouter from 'vue-router';
import Home from '../views/Home.vue';
import { authGuard } from '../auth/authGuard';

Vue.use(VueRouter);

const routes = [
  {
    path: '/',
    name: 'Home',
    component: Home,
    // http:localhost/8080/にアクセスする際にauthGuardモジュールを呼び出します。
    beforeEnter: authGuard,
  },
  {
    path: '/about',
    name: 'About',
    component: () => import('../views/About.vue'),
    // http:localhost/8080/aboutにアクセス際にauthGuardモジュールを呼び出します。
    beforeEnter: authGuard,
  },
];

const router = new VueRouter({
  mode: 'history',
  base: process.env.BASE_URL,
  routes,
});

export default router;
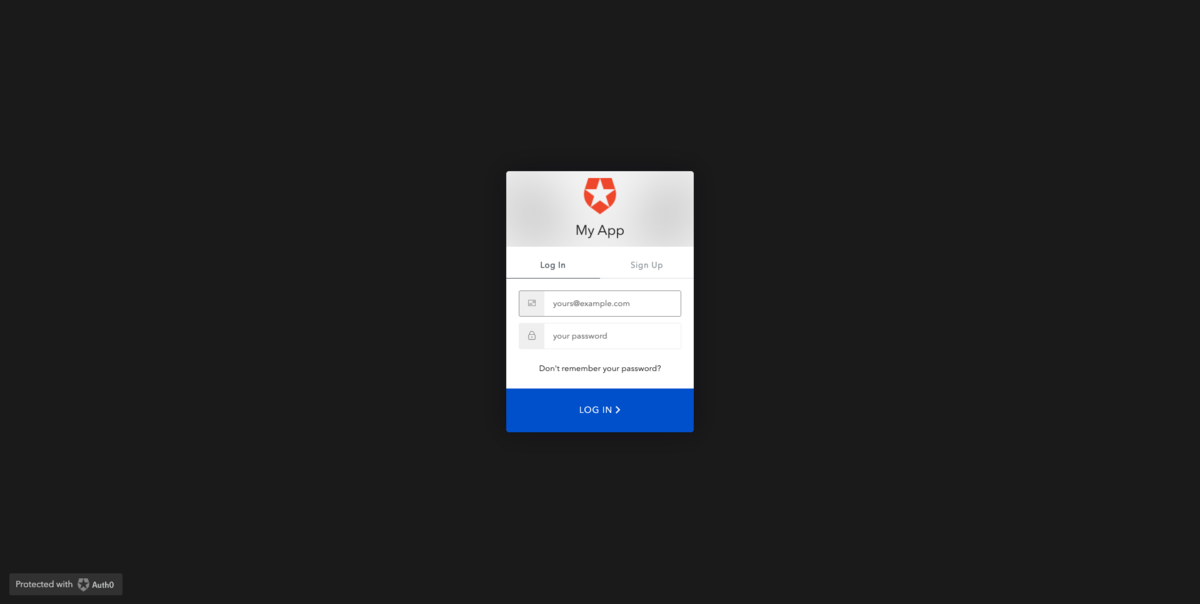
http://localhost:8080/にアクセスし、下記のようなログイン画面が表示されます。
ログイン後、Vueのデフォルト画面が表示されれば完了です。
(※ログインするには、事前にAuth0コンソール画面にてユーザーを作成しておく必要があります。)
最後に
beforeEnter: authGuardは非常に便利で、リロードをした際にログイン状態を維持する場合にも使用できます。(トークンをストレージに保持するわけではない。)
まだVue経験が浅いですが、今後もこのようなTipsを発信していきたいと思います。

